Categories Blogs

Is Landlord Or Tenant Responsible For Property Damage?

inspecting property damage

Property damage happens even to the most robust of buildings. From natural wear and tear over time to severe weather damage to deliberate vandalism, someone has to step up to fix the problem. But who?

When landlord and tenant refuse to take ownership of the property damage, disputes arise. Most disputes can easily be avoided or settled. However, in extreme cases, the NSW Civil and Administrative Tribunal (NCAT) has to be involved before the dispute is resolved.

To avoid unnecessary disputes (and the resulting headaches and stress), it is crucial for landlords and tenants to understand what the different types of property damage are and who is responsible for what type of damage to ensure that all repairs are done quickly. We break it down for you below.

‘Accidental Damage’ vs. ‘Deliberate Damage’

Many experts recommend that property owners protect their property with home insurance or property damage liability insurance. Property damage liability coverage usually includes accidental damage, or any type of damage that is caused unintentionally or through no deliberate fault of any persons occupying the property, including tenants, guests, or visitors.

These include damage to parts of the structure, or to items in the home. If a functioning appliance or item stops working suddenly, this is also considered as accidental damage and is usually covered by home insurance.

However, any type of damage caused by pets is not classified as accidental and is therefore not covered by insurance.

When is a Tenant Liable for Damage?

Tenants are responsible for their own actions, their guests, and anyone else who visits them at the property. Each property may have their own specific definitions, and these terms and conditions will be mentioned in the lease agreement.

If anyone acts negligently or irresponsibly and causes some form of property damage. the tenant will be liable and will need to pay for any repairs. These are classified as either ‘Vandalism/Malicious Damage’ or ‘Deliberate Damage’.

Vandalism/Malicious Damage

This is any acts of vandalism or intentional damage that are done out of spite or malicious intent to the property.

Deliberate Damage

Actions that not done maliciously but are likely to result in damage to the property are considered deliberate damage. This includes doing something without the landlord’s permission or knowledge that ends up in property damage.

Examples of both Vandalism/Malicious Damage and Deliberate Damage include:

  • Pet urine or faeces that leave stains or lingering odours in the house
  • Rips or damage to window treatments caused by pets
  • Stains, burn marks (e.g. candles, cigarettes, irons), or tears in rugs/carpeting
  • Easily visible scratches on hardwood floors caused by pets or dragging of furniture and other such acts
  • Cuts/scratches and burn marks on kitchen counters
  • Broken window panes caused by irresponsible actions e.g. throwing a ball in the house
  • Water damage caused by negligence
  • Damage to the paint from using some form of adhesive on the wall
  • Holes in the walls left by tenants’ installation of things such as hooks, shelves, or nails
  • Poorly finished paint jobs (unless previously approved by the landlord)

How about ‘Wear And Tear’ Damage?

With age and everyday use, wear and tear damage is inevitable. Any property damage related to naturally occurring wear and tear must be undertaken and paid for by the landlord and is not covered by insurance.

Here are some examples of wear and tear damage:

  • Scuff marks on a wooden floor
  • Chipped/cracked/faded wall paint
  • Fraying and natural discolouration of curtains and tie-up cords
  • Worn upholstery
  • Wear and tear of kitchen countertops
  • Loose hinges on doors, cabinet doors, and handles
  • Cracks in the wall (unless caused by deliberate impact such as installing wall fixtures)
  • Broken or leaking plumbing fixtures and any subsequent water damage
  • Roof leaks and any subsequent water damage
  • Discolouration of paint around switchboards and baseboards
  • Worn sliding tracks of doors and windows
  • Irreparable damage to carpeting caused by furniture indentations and high foot traffic
  • Appliances breaking down

As the daily occupants of the property, some tenants may get wear and tear damage mixed up with deliberate damage. A tear in the carpet, for example, could have been from high-traffic use of the hallway instead of a tear created by dragging a heavy shelf along the hall.

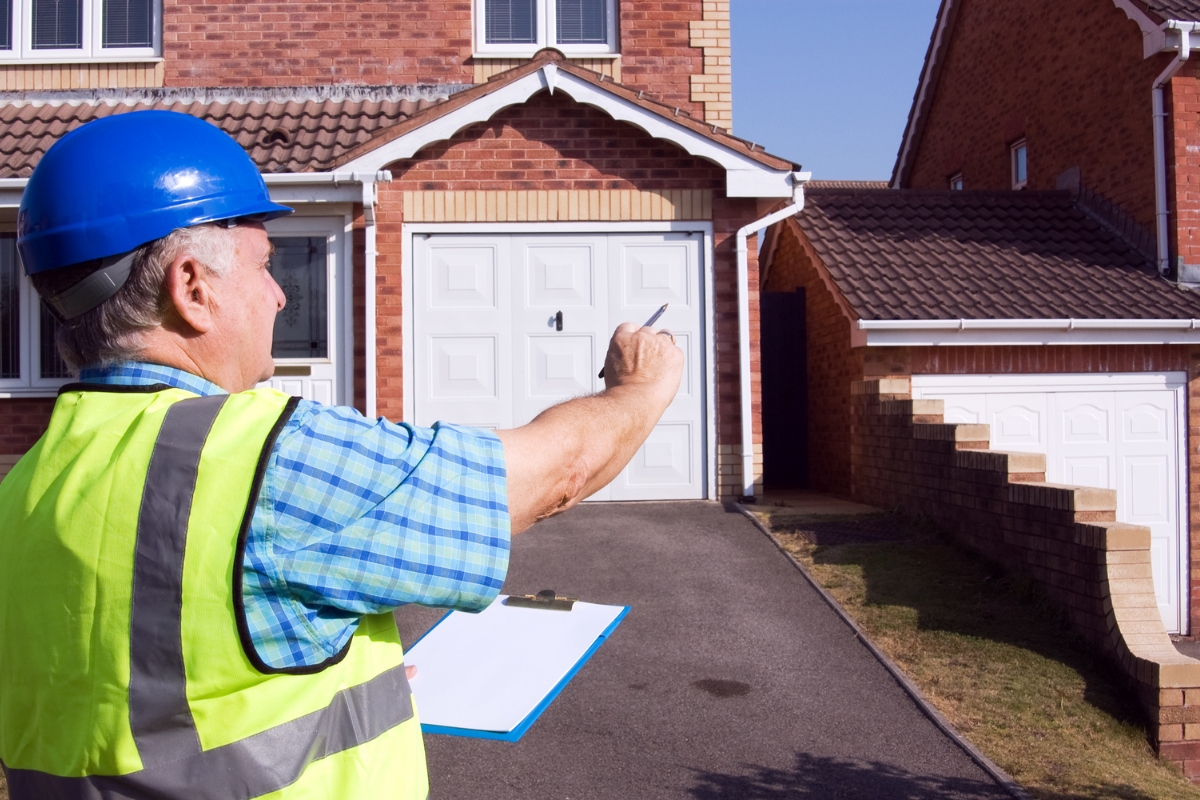
These disputes are when photos taken during house inspections come into handy. Ensure that landlords and tenants alike have a copy of all inspection reports, including photos, so that all parties clearly understand the state of the property before, during, and after the tenancy.

It’s Time For Repairs: Who Pays?

A tenant should NEVER carry out repairs without the consent of the landlord. In the case of urgent repairs, they must inform their landlord as soon as possible.

If the landlord cannot do the repairs in time, there needs to be a written agreement that any repairs that the tenant ends up with will be reimbursed usually up to an agreed amount). The tenant must also include a detailed report of the damage and subsequent repairs to be done.

The landlord is not required to pay or reimburse the tenant for repairs if the property damage was caused by the tenant.

Provided that the damage was accidental or occurred naturally due to wear and tear, the landlord will arrange and pay for a licensed tradesperson to come in and do the work.

I have never advised the destruction of life, but of property, yes.

Emmeline Pankhurst

Unlike Ms. Pankhurst, we at Star PM do not recommend destruction of any sort, property included. The hassle of organising repairs, dealing with your landlord/tenant, the inconvenience of waiting for repairs to finish, the whole process adds unnecessary stress and drama to your already busy life.

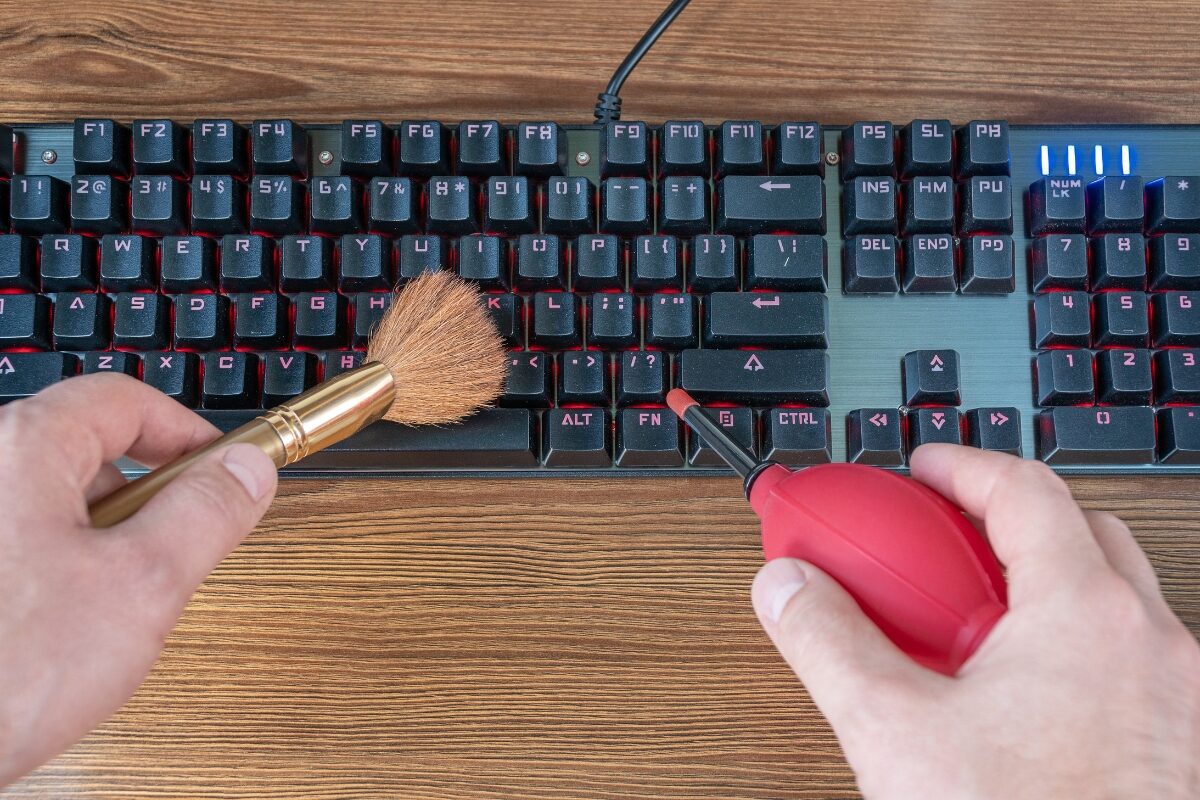
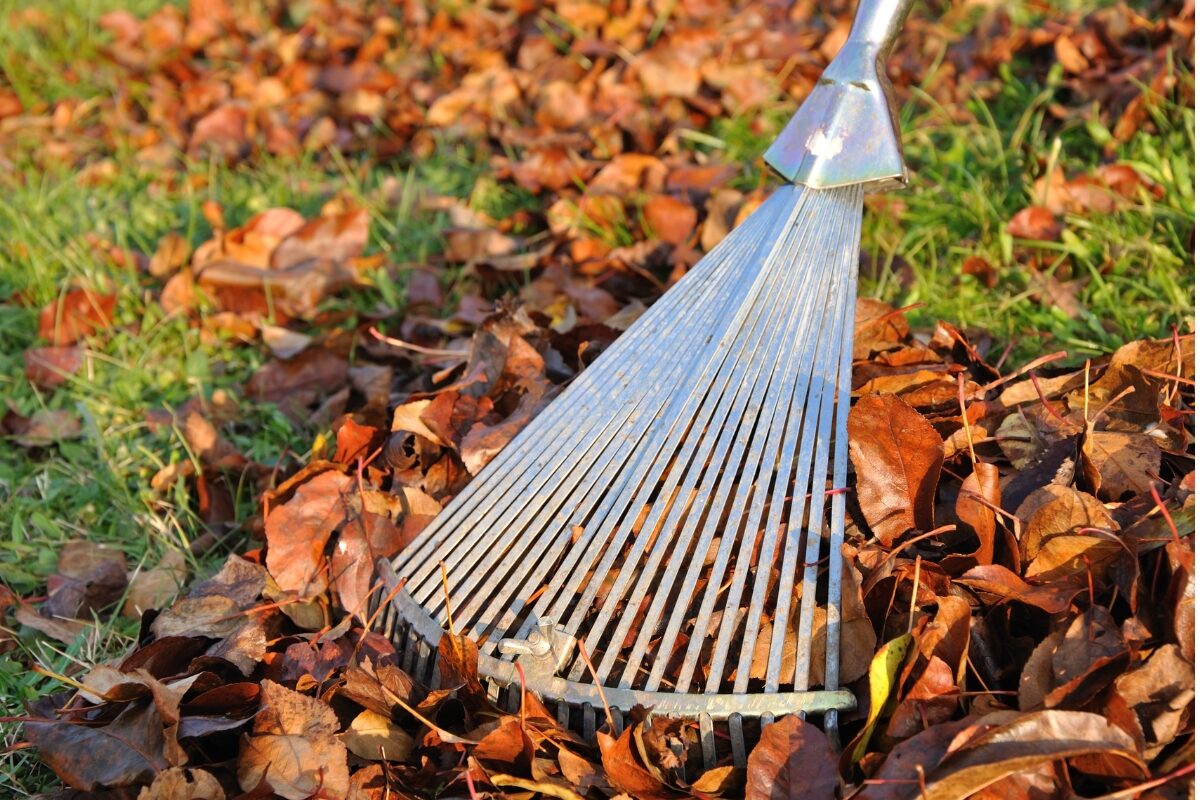
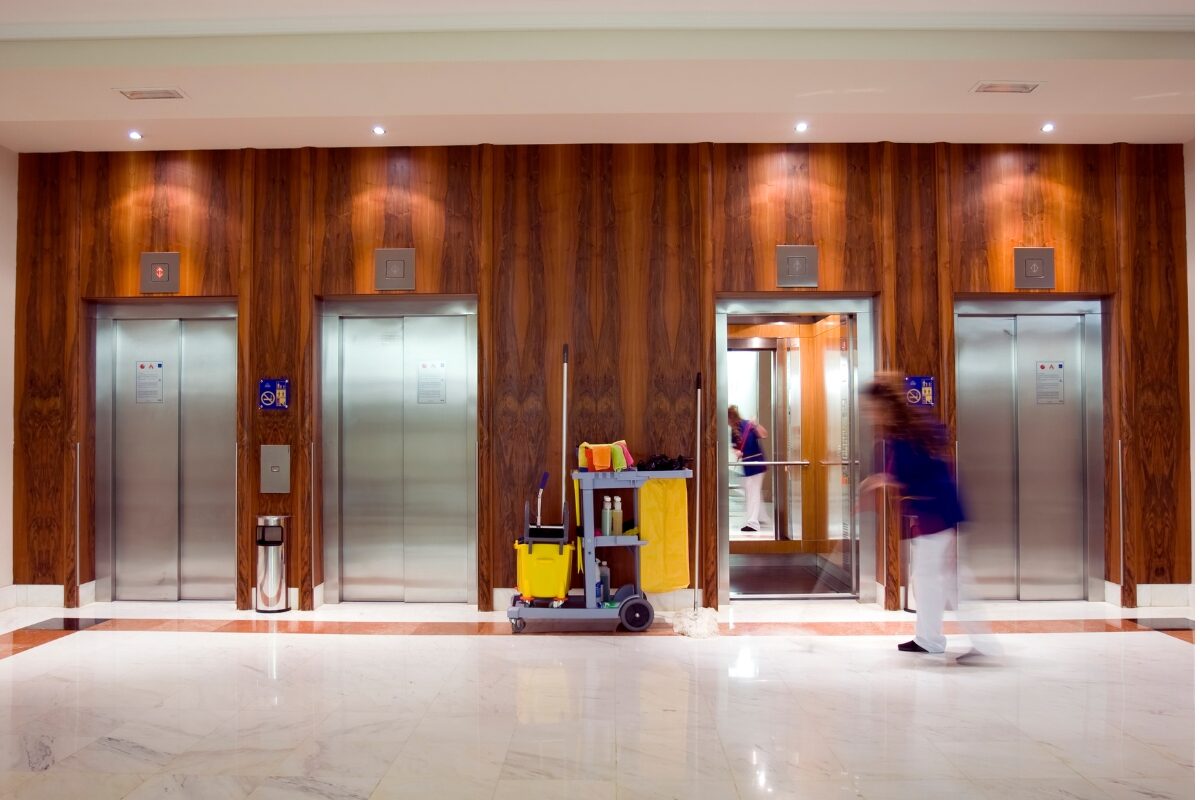
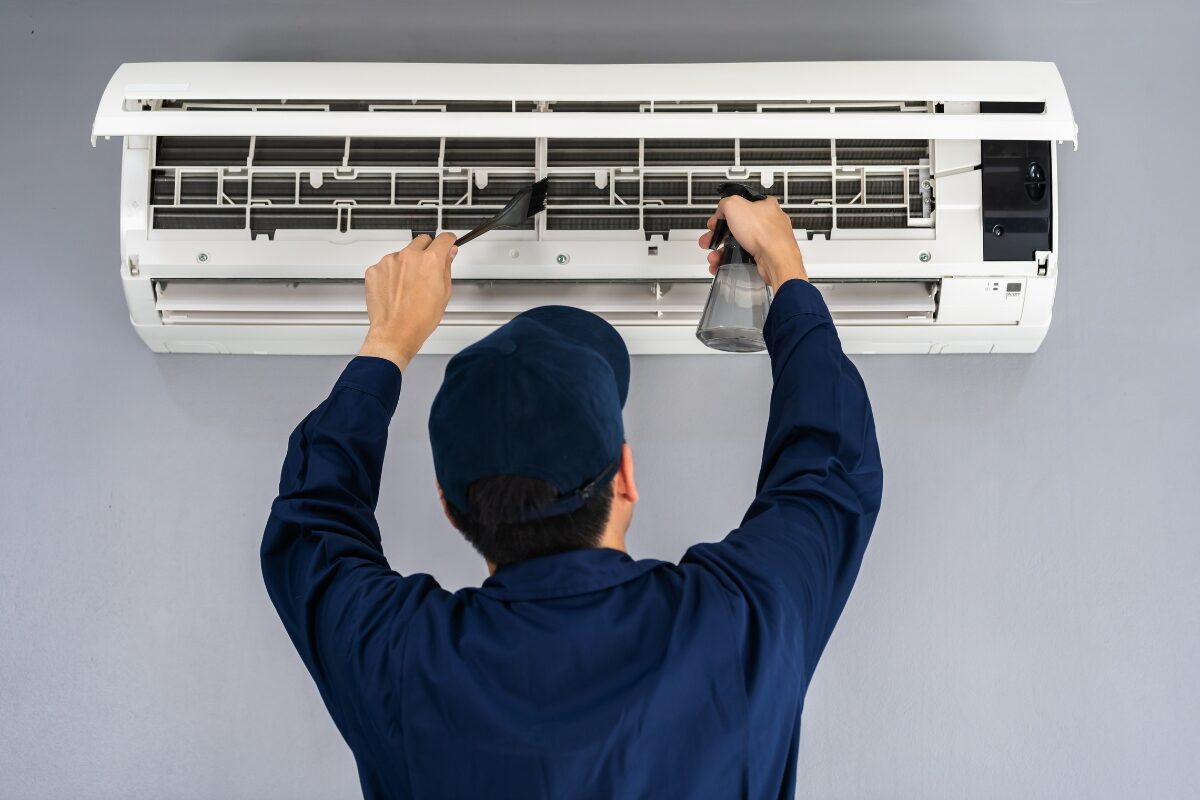
To reduce the amount of wear and tear damage in your property, we recommend regular and professional property cleaning. We also provide handyman services to do any repair work, big or small, required on your property to make maintaining your property a smooth, stress-free experience.

Contact us for a free quote, and experience the difference with Star PM.

Categories Blogs

Don’t Neglect Your Keyboard Cleaning with 6 Easy Steps

keyboard cleaning

Laptop keyboard, wireless keyboard, mechanical keyboard… Whatever keyboard you have, it is probably one of the most used items on your desk. But when did you last do some keyboard cleaning?

A study by British consumer not-for-profit Which? asked a microbiologist to test 33 keyboards from a London office in comparison to a toilet seat and a toilet door handle. Four keyboards out of the 33 tested keyboards were judged as potential health hazards. The dirtiest keyboard was tested to be 150 times over the acceptable bacteria limit, or 5 times filthier than the swabbed toilet seat.

Despite these biohazard risks, when 4,000 people were surveyed as part of the same study, at least 1 in 10 people (11%) never cleaned their keyboard, and almost half (46%) of the participants cleaned their keyboard less than once a month.

Keep your office space and your workers safe by encouraging regular – and often – keyboard cleaning and sanitising.

Not sure how to do it? Follow our handy guide for cleaning your keyboard in 6 easy steps below.

Keyboard Cleaning Tools

These are some of the most common cleaning tools you will need keep your keyboard clean. Keep them handy in an easily accessible spot in the office, and encourage your staff to have some on hand at home for their personal computers.

  • A can of compressed air
  • A mini vacuum cleaner or dust vacuum
  • Small brushes
  • Isopropyl alcohol
  • Cotton swabs
  • Wiping cloths

There are many small and delicate parts in the inner workings of a keyboard. Take care during your cleaning process to avoid accidental damage.

For a quick clean of your keyboard’s cracks and crannies, consider investing in a keyboard cleaning gel. These gels are similar to a slime toy but with a slightly more malleable consistency and a mildly adhesive effect. Use it by laying it across your keyboard and gently peeling it off to get rid of a lot of loose dirt, dust, and debris that has fallen between the keys.

Step One: Disconnect The Power Supply

Firstly, and most importantly, cut off the power from your keyboard before starting the cleaning process to ensure maximum safety and minimise any damages in case any accidents occur.

Unplug your keyboard if it is wired or connected to your computer. If it is wireless, remove the batteries if possible and switch off your computer to prevent triggering any functions by accident.  For cleaning a laptop keyboard, switch off and unplug your laptop.

Step Two: Shake the Dirt Out

Everything from dust to crumbs to even pet hair can be removed by giving your keyboard a good shake. Flip the keyboard upside down and begin to shake it firmly but gently.

Watch your surroundings to prevent knocking something over on your desk (or a stray co-worker passing by!)

If it is a laptop, hold the screen open with your thumbs while you support the body of the laptop. Be careful not to press into the actual screen display of the laptop! Maintain a strong grip on the laptop, especially for older or heavier models.

If shaking is difficult, using a small brush to gently sweep between the keys can be an effective alternative to shaking your keyboard.

Step Three: Use Compressed Air

Using compressed air can help you blast any stubborn pieces of dirt stuck between or underneath your keys. Cans of compressed air are easily available in most department or electronics stores.

To use it, attach the straw nozzle to the can. Aim the nozzle at the gaps in your keyboard, tilt the can to approximately 45 degrees, and sweep it along each crevice with small bursts of air. Keep the nozzle about 1-2cm above the keyboard at all times for best results.

Once you’ve done one side, rotate the keyboard and repeat this process from each side to really make sure you get as much dirt as you can out.

Step Four: Vacuum the Keyboard

For a more cost effective way to blast out the dust, a dust vacuum with a small nozzle or a keyboard specific vacuum could be a worthy investment for your office. The high suction power of the vacuum can help lift even the most stubborn particles (including the sandwich crumbs from months ago!).

Run the brush or the nozzle over the edges of the keys, reaching between them if possible. This should get under the keys and release any dirt wedged there. Before doing this however, ensure that none of the keys are loose or wobbly as they may get pulled into the vacuum cleaner along with the dirt.

Step Five: Isopropyl Alcohol Scrub

Once all the dust has been dislodged and removed, dampen a thin cotton swab or pad with isopropyl alcohol. Pinch the cotton between your fingers to remove excess liquid.

Very lightly, rub the swab between the keys to wipe away any grime, oil streaks, and other stains. You’ll want to swap out the cotton swabs as you wipe between each row of keys.

Try to avoid wiping the tops of the keys as you could take the paint off them by accident. For a laptop, since the keys are relatively flat, you will have to take additional care with each swipe of the cotton pad. Additionally, avoid dripping any alcohol underneath the keys as you clean as this may damage the inner workings of the keys.

Step Six: Isopropyl Alcohol Wipe

Finally, it is time to wipe the grime off the tops of your keys. Use a lint-free cloth to prevent new particles from falling underneath the keys you just cleaned. Glasses cleaning cloths or LCD screen cleaning clothes are perfect for this.

Slightly dampen your chosen cloth with diluted isopropyl alcohol. The ideal ration is 1 part isopropyl alcohol to 1 part water. Make sure that the cloth isn’t soaked and only mildly damp.

Begin wiping the tops of the keys very gently. Isopropyl alcohol can take off the paint from the tops of your keyboard, so you need to take care with this step.

Wipe the keys down a few times to ensure that you have successfully removed all the grime build-up from the tops of your keys. Whilst you’re at it, this could be the perfect time to swipe the cloth across your mouse too!

Life is like a keyboard, because if you press the right keys you have typed destiny.

Saba Shaikh

Too many steps in your busy day to follow? Do a quick wipe down of your keyboard and shake out the debris every so often will already go a long way to keeping your keyboard clean.

At Star PM, we can keep your office spotless, but keeping these personal, high-use items clean will go even further in maintaining the hygiene and health of your workers.

Categories Blogs

10 Essential Autumn Tasks For A Winter Ready Garden

raking autumn leaves for winter ready garden

Ah! The days are slowly getting shorter, the breezes are getting brisker, and there is now a cold bite to the nights. Before the winds and rains of winter kick in, make the most of the good weather to finally cross out that to-do list you’ve been putting off for property maintenance. This includes making sure your property has a winter ready garden.

If your property has a garden or garden areas, they are probably the first thing people notice when they arrive. Having a beautiful garden can also contribute to keeping away the ‘winter blues‘ and helping you, your visitors, residents, or clients enjoy the outdoors in the cooler months. To keep your gardens vibrant and healthy all year round, follow our handy guide of 10 essential Autumn gardening tasks below for getting your garden ready for winter.

1. Gather Autumn leaves

The golden Autumn leaves may look beautiful strewn across your lawns and footpaths, but leaving them where they fall can kill the grass underneath. When the wind blows, many end up filling the gutters to ultimately end up in the storm-water drains.

Rake them up instead to compost. Don’t compost? Put the leaves in your garden beds as mulch. As the leaves break down, it provides rich nutrients to your plants and extremely beneficial to garden soil. It is also how to improve garden soil over the winter without any additional work.

2. Plant spring flowering bulbs

Now is the time to plant spring bulbs such as Freesia, hyacinth, daffodil, crocus, anemone, Babiana and tulips. Choose a spot with light, well-drained soil or plant in pots that can be moved out of sight after flowering. If you live in a warm climate, chill hyacinth and tulip bulbs in the crisper section of your fridge in a well-marked paper bag for about eight weeks before planting.

3. Watch out for mildew on roses

A well-established rose garden is a marvellous sight to behold. Protect your rose plants by watching for powdery mildew, which is rife in autumn and particularly when the weather stays warm.

Hose your roses down a couple of times a week to prevent it from attacking your plants. This will raise the humidity, which stops the powdery mildew spores from maturing. However, be sure to do this only in the morning because moisture on leaves overnight is what powdery mildew loves best.

At this time of year, roses also enjoy a sprinkle of potash around their drip line. Water it in well into the plants, particularly if the weather is dry.

4. Take hardwood cuttings

Take cuttings now from lavender, roses, box, Hebe, hydrangea and other woody shrubs to use to fill up the empty spots in your gardens when the weather begins to warm.

After cutting your plant, clear 3-4 cm from the cut end of your cutting of any leaves and dip it into rooting hormone before placing them into a sandy, well-drained soil mix. Keep it moist and wait for the cuttings to take root. Once new leaves start emerging from the cuttings, they will be ready to be planted into the ground in Spring.

5. Pot up Winter flowering annuals

For pretty flowers for your winter ready garden, simply remember the three Ps – pansies, primroses, and Polyanthus. These colourful blooms will keep your garden lively during the colder months. Mix up with cineraria and other annuals. Sow their seeds now in trays or punnets or look out for seedlings at the garden centre to make sure they are ready to bloom at  the right time.

6. Divide perennials

Dig up and divide large clumps of perennials such as dahlias, cannas, daylilies, DietesEuphorbia, foxgloves, Hosta, peonies and red-hot pokers. Use a sharp knife or spade to break up any clumps. Keep the outside bits for replanting, but throw the old central core away either into your compost or green waste bin. This will revitalise your plants over the colder months so that they will produce more flowers next season.

7. Give tired lawns a boost

Autumn rains and cooler weather means that it is a good time to sow new lawns and revitalise existing ones for a winter ready garden.

For ideal lawn sowing conditions, wait until the weather is cooler and we have had some Autumn rains. Before sowing seed, remove stones and difficult weeds such as dock and dandelion to ensure that your new lawn grows strongly and evenly.

8. Plant new trees

Autumn is the perfect time to plant new trees or shrubs.

If your soil is heavy clay, add compost, sheep pellets, or other organic matter to improve its structure and encourage worms in your soil.

Make sure your chosen planting spot isn’t on top of underground services such as sewerage drains or power cables. If unsure, call your service providers, who can supply plans for your section. As much as we want to have a winter ready garden, accidentally planting a tree on top of your NBN connection is definitely not what we want!

9. Mulch frost-tender plants

If your property is in a place with very cold winters, cover the ground with mulch to help protect your plants from frost during cold nights.

It may also be worth to lift frost-tender plants, such as cannas, out of the ground for storage. Dry them and other rhizomes in the sun and store them in the garage or shed over winter.

10. Allow plants to set seed

Some flowering perennials such as sedum, coneflower (Echinacea), and some types of grass have lovely seed heads. Think about leaving those you like on the plant to add interest to your winter ready garden. Any fallen seeds will also grow organically come spring time, giving you fresh new plants for your garden beds.

Similarly, many rose growers recommend leaving some flowers on rose plants to set hips (red/orange berries). Rose hips not only look attractive but help maintain vigour.

There is a harmony in Autumn and a lustre in its sky.

Percy Bysshe Shelley

At Star Property Maintenance, we know how important a well-kept and well-groomed garden is to the overall look, feel, and vibe of a property. Regardless of if your property is residential or commercial, everyone who walks past benefits from a beautiful garden. If you’re unsure of how to make your grounds a winter ready garden, contact us and we will help you get you and your garden ready for winter this autumn time.

Categories Blogs

Strata Cleaning: The Essential Need-To-Know

Strata Cleaning - Elevator Foyer

If you live or work in a building complex, you might have noticed cleaners that come in bi-weekly or weekly to make sure your complex is clean and pleasant to be in.

They are part of Strata Cleaning, which is the maintenance and cleaning of common areas within a commercial property or sub-divided spaces in a residential or commercial complex.

Not a lot of people are familiar with the concept of strata cleaning, or why it is an essential service. However, imagine the number of people who move through those common areas every hour of every day. If those areas aren’t cleaned properly, they could get filthy very quickly!

Many building committees hire professional strata cleaners to take care of specific cleaning needs that an average cleaning company does not offer. Strata cleaning requires a more structured cleaning system, stronger or larger cleaning equipment, and a bigger team of professionally trained cleaners.

The cleaning tasks that need to be done is also different to general home and commercial cleaning. A professional and qualified strata cleaning company is equipped to meet these very specific and necessary cleaning needs.

Read on to learn exactly what strata cleaning is, what to expect from professional strata cleaners, and why it is important to hire one for your building complex.

What Is Strata Cleaning?

As we mentioned above, strata cleaning involves cleaning and maintaining common areas in a commercial property and residential complexes to ensure that these areas are tidy, hygienic, and pleasant to be in. Common areas are considered to be shared spaces needing regular upkeep that no individual household or business is responsible for. These include hallways, stairwells, elevators, building gyms and pools, shared toilets, entrances, pathways, gardens, and more.

The concept of strata cleaning originated in Australia, with many other countries now picking up the idea. Because of the amount of work that goes into strata cleaning, many building committees hire professional strata cleaners.

For residential properties, depending on the type of property in question, the committee will put forth their cleaning requirements, terms and conditions will be discussed, and the preferred services will be finalised before the company is hired.

In a commercial space, there are often two or more businesses within in a single premises, such as a building with multiple offices, or a shopping centre with different stores operating under one roof. With so much shared space, a building and maintenance committee will decide whether to hire a professional cleaning company to take care of these common areas.

The Benefits Of Hiring A Strata Cleaning Service

It’s simple: no one really wants to clean, especially when it comes to spaces that aren’t exclusively yours. Without strata cleaning, you can expect to be walking and existing amongst dirt, dust, grime, and filth that keeps on accumulating because no one will step up to clean these shared spaces.

Professional strata cleaners will take care of all that for you by ensuring that all the shared spaces in your building are immaculate.

Benefit One: They Keep The Place Sanitary

Many parts of a common property are exposed to dirt and grime from all the people who pass through, which become hotspots for bacteria. Until and unless they are cleaned and sterilised regularly, you will be exposed to these unsanitary surfaces and areas every day.

Benefit Two: They Stay On Top Of Any Repairs Or Maintenance

Strata cleaners can spot damages to the property and, depending on the damage, offer subsequent repairs. For example, if a common floor is in need of sealing or re-grouting, your chosen strata cleaning company can take care of that upon request.

Benefit Three: They Maintain Your Light Fixtures

Light bulbs often need changing, or the light fixtures need to be cleared of any dead moths or other insects that are attracted to light. Your professional strata cleaners can help keep them clean and clear, and ensure that all light fixtures bulbs are always in working condition.

Benefit Four: They Sanitise Any Included Gyms And Other Equipment

Many buildings now include gyms and sports facilities for their occupants, which many people take advantage of. After all, who doesn’t want free access to exercise equipment?

With so many people using these provided sports facilities, the cleaning requirements become very particular to ensure that proper hygiene is maintained. Professional strata cleaners can guarantee that proper cleaning procedures are followed, keeping you safe as you sweat it out and hit your personal bests!

Benefit Five: They Will Clean And Maintain The Building’s Pools

The mere sight of an unmaintained swimming pool is enough to turn you off. Unhygienic and unpleasant, there are many health risks that come with using an unmaintained swimming pool. A strata cleaning professional will keep your building’s pools clean and safe to use with the right equipment and extensive experience.

Benefit Six: A Strata Cleaning Service Can Do It All

Hiring different cleaning companies that specialise in different areas of indoor and outdoor cleaning can get very expensive very fast. In comparison, strata cleaning costs are usually lower because they can do it all in one go. Save time and money whilst trusting that these very essential cleaning tasks get completed.

Clean your dust. Clear your mind.

Unknown

What to Expect From A Strata Cleaning Company

It helps to know what to look for in before you hire any professional cleaning service. Along with their terms and conditions, it’s important to discuss the full list of included services as well as the frequency of the cleaning tasks to be carried out.

As a general guide, here is a checklist that includes most strata cleaning services:

  • Cleaning floors of common areas
  • Cleaning elevators and disinfecting buttons/screens inside
  • Disinfecting switchboards in all common areas
  • Dusting furniture in common rooms
  • Cleaning cobwebs from outdoor and indoor areas within the property
  • Sterilising frequently touched surfaces such as doorknobs, railings, tables, chair backs, etc
  • Vacuuming carpeted floors of common areas
  • Dusting walls
  • Sweeping outdoor spaces and removal of natural debris
  • Cleaning and maintaining common wheelie bins
  • Washing glass doors and windows
  • Cleaning garden areas and lawn maintenance
  • Cleaning and removal of stains from pavers and concrete flooring

Bear in mind that most strata cleaning companies offer customised services to meet the specific cleaning needs of their clients. At Star Property Maintenance, we are always happy to answer your questions and help you with all your commercial cleaning, including strata cleaning and maintenance. Contact us to find out more.

Categories Blogs

Clean Your Air Conditioner And Stay Cool All Summer

Cleaning Air Conditioner Unit

Many air conditioner systems are heavily used during the beginning of the year and for good reason! January and February is the hottest period of time in Australia, with Sydney-siders experiencing soaring temperatures, dangerously high UV levels, and high humidity.

However, with high use comes needing more maintenance. Although many newer commercial buildings use ducted or central air conditioner systems that will need an HVAC professional to service, a lot of smaller or older structures have split air conditioner systems that can be cleaned and maintained by yourself.

Make sure that you can remain cool as a cucumber until the weather cools with a clean, smooth-running air conditioner system by following our handy guide below.

Cleaning The Outdoor Unit

If the outdoor unit, or the condenser unit, of your air conditioner is located on the ground or can be safely reached with a standard household ladder, then you can safely clean it yourself. Otherwise, if the outdoor unit is fitted high above the ground, we advise that you call an HVAC professional to get the job done.

For safety reasons, turn off the main power supply to the air conditioner before you start the cleaning process!

Step 1: Remove Dust from the Fins and Fan Blades

Because the condenser unit is located outside, the condenser fins can become caked with dust over time. This will restrict airflow, making it harder for your air-conditioner to cool your space down effectively.

To remove dust from the fins and the fan blades, unscrew and remove the outer panels of the unit. Some models may contain a separate covering over the fan blades. which will also need to be removed for a thorough clean.

Once the panel(s) have been removed, use a soft brush to gently knock dust off from the fins and the fan blades. Avoid using excess pressure as this may bend the fins.

Remove any debris collected at the bottom of the unit.

Step 2: Wash with a Water Hose

Using minimal water pressure to spray down the fins is the most effective way to clean them thoroughly. To do this, hold the water hose inside the unit and spray the fins to push the debris outward. If the fins are just dusty, plain water will be enough. If they are heavily soiled, a foam condenser cleaning product can remove grime efficiently.

To clean the fan blades, dampen a clean cloth and wipe them thoroughly.

Soak up and wipe dry any dirty water collected at the bottom of the unit.

Step 3: Dust off the Electrical Unit

There is wiring in the electrical unit of the condenser that must not be disconnected or tugged as it may cause a loose connection. There is also not much to clean inside the electrical unit as it is usually securely concealed within the condenser unit. The only cleaning it might need is to brush off any dust that might have collected on its surface. A soft brush, dusting cloth, or feather duster can get this job done safely and easily.

Step 4: Scrub Down the Panels

Cleaning the outdoor unit won’t be complete without scrubbing down the outside panels of the condenser unit. As these panels protect all the delicate inner parts of the unit, it sees a lot of dust, debris, and nasty stains.

First, brush off any dust or dirt. Next, hose them down and scrub away grime using some dishwashing detergent and a sponge, paying close attention to edges or ridges. For stubborn stains, soaking the stains with glass cleaner for 10 minutes usually does the trick!

Before screwing the panels back on, soak up excess water with a towel to allow the interior to dry up quickly.

Cleaning The Indoor Unit

When most people think about cleaning indoor air conditioner units, they usually only consider cleaning the filters. Even though keeping your filters clean is extremely important, there is more to be done when it comes to maintaining the overall functioning of your indoor unit.

Step 1: Remove and Clean Air Filters

To remove the air filters and clean inside the unit, take off the front panel or open it by lifting it up (depending on the model). Once the filters have been removed, clean the filters with a vacuum cleaner or gently clean them under running water. Be sure to clean both sides of the filters thoroughly.

Step 2: Clean Off the Evaporator Coils

There are plenty of commercial products on the market to help you clean the air conditioner’s evaporator coils quickly and efficiently. However, however, if yours aren’t too soiled, a mild solution of soap and water will be enough.

Begin by knocking off dust with a coil brush, then apply your homemade cleaning solution with a spray bottle, or the commercial product as per the label’s instructions. After a few minutes of sitting time, dampen a clean cloth to wipe the coils down. Make sure to get all the grime off!

Step 3: Clean Out the Drain Pipe

Sometimes blockages can occur in the drain tube, causing havoc to the functioning of the unit. To clear your unit’s drain tube, use a wet and dry vacuum cleaner to suck out any existing dirt and debris from the drain tube by placing the hose of the vacuum just inside the tube (or vice versa). Keep it running while holding the pipe firmly in place for about two minutes.

Step 4: Dust Out Remnants of Debris from Inside

Carefully dust the interior of your indoor unit with a feather duster. Any stubborn grime can be removed with a clean damp cloth. Finish it off by wiping the front panel and remaining exterior of the unit before putting the (now dry) filters back in and closing up your air-conditioner unit.

A computer is like air conditioner – it becomes useless when you open Windows.

Linus Torvalds

After you have cleaned your air conditioner’s indoor and outdoor units, it’s time to test it! Turn the main power supply back on, and keep your AC system on for a good half hour. In this time, observe the level of cooling, and check for unfamiliar smells and sounds. If you discover anything unusual, turn your AC off and contact a local HVAC technician to have it checked for any problems.

Regardless of if you decide to clean your air conditioner yourself or opt to call in a professional cleaner for the job, it is critically important to do this at least once a year. This will help keep your air conditioning systems in tiptop condition for years to come, keeping you cool and refreshed all summer long!